Reselling is an effective, if non-traditional path for manufacturing spend, meeting credit card sign-up minimum spend, and generally generating miles, points, cashback and hopefully profit. This guide is a collection of posts to help you effectively maximize the use of Amazon’s Fulfillment by Amazon (FBA) service for reselling.
Read Also:
Introduction to Retail Arbitrage
I spend most of my time talking about Online Arbitrage, which is purchasing products online, usually through
shopping portals, then selling them via FBA. Well, there’s yet another option, that is, Retail Arbitrage (RA)! RA is when you happen to be in a store, and see something priced well, and think to yourself, “Hey, this is a great price, wonder what it is on Amazon?” Or more likely: “Hey, I could totally clear the shelves and sell this for a profit!”
Right on, so, yeah, Retail Arbitrage, most simply defined is, buying from a retail outlet, and selling for more than you bought it for. There is excellent opportunity in this arena, but it could really be a pain without the proper tools, and while there are plenty of paid tools out there, Amazon had the good sense to put out the Amazon Seller App for free. It’s really worth being on your mobile device (aka phone) if you do reselling.
Enter: Amazon Seller App!
The Amazon Seller App is in my opinion, a hugely powerful app that belongs on anyone’s phone that plans to do any level of reselling. Here’s the home screen:
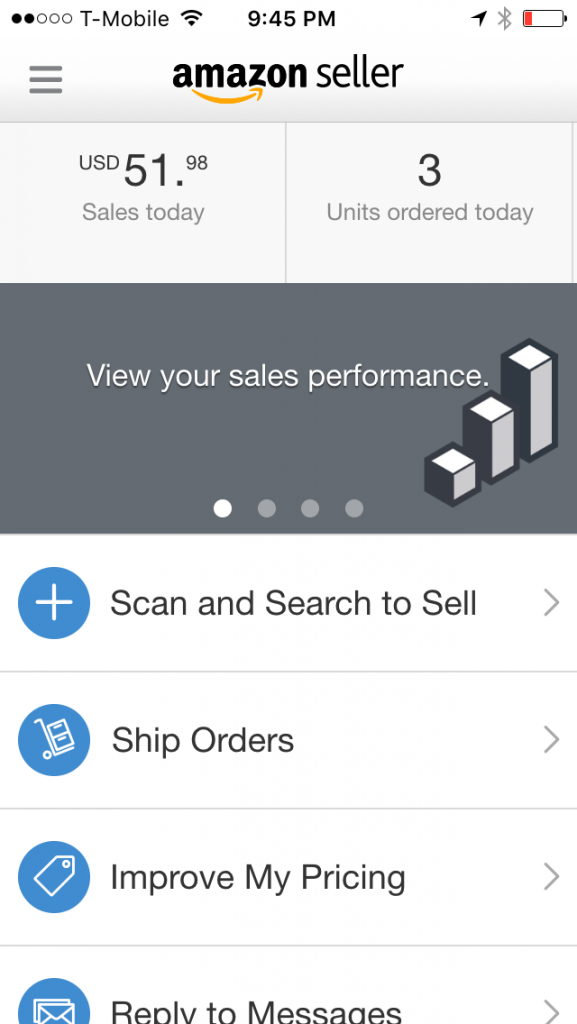
Amazon Seller App Home Screen, ignore the dreary numbers, it was taken at like 1am from Australia (I swear!).
As you can see, there are plenty of things that the FBA Seller App will allow you to do. It is not as powerful as Amazon’s Seller Central, but, you still have a fair amount to do. I would argue the greatest value of this app, is the fact that you can search for products in store. You can do it via text, just like you would searching on Amazon.com, or, you could leverage your phone’s camera, and scan barcodes. I still don’t get tired of scanning barcodes, I mean, it’s just so easy! And most of the time, the App finds stuff. Easy!
Walking through the Retail Arbitrage Benefits of the Amazon Seller App
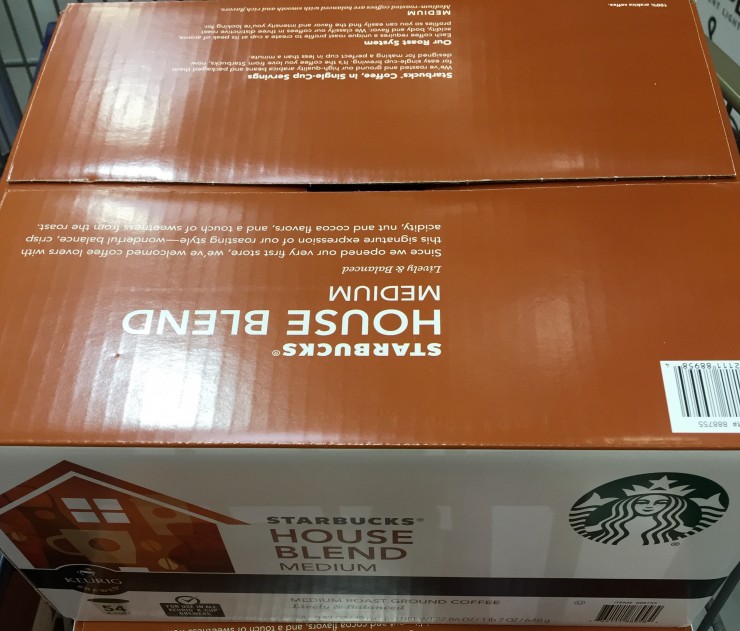
So, you’re wandering through a large store who’s name I won’t mention (because it’s more fun that way), and you see a product on sale. First you think, hmm, this could make sense to sell!
So, as any logical human being, you pull out your phone, fire up the Amazon Seller App, and scan away!
Normally, the scan will result in finding a product, like this:
Now lets say, maybe you chose poorly (cue the Indiana Jones and the Last Crusade clip!), Lets say you get this:
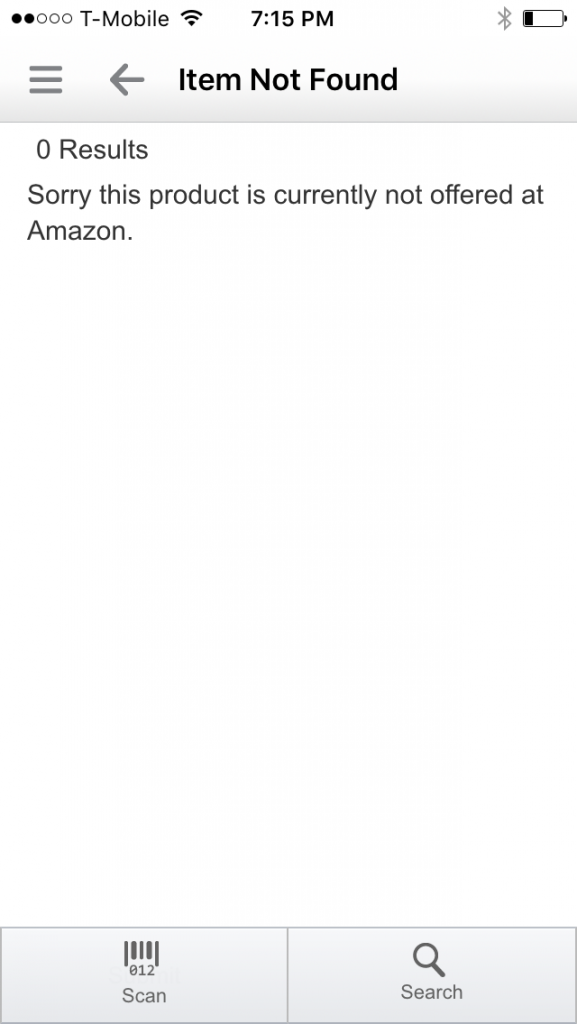
Insert Frowny Face
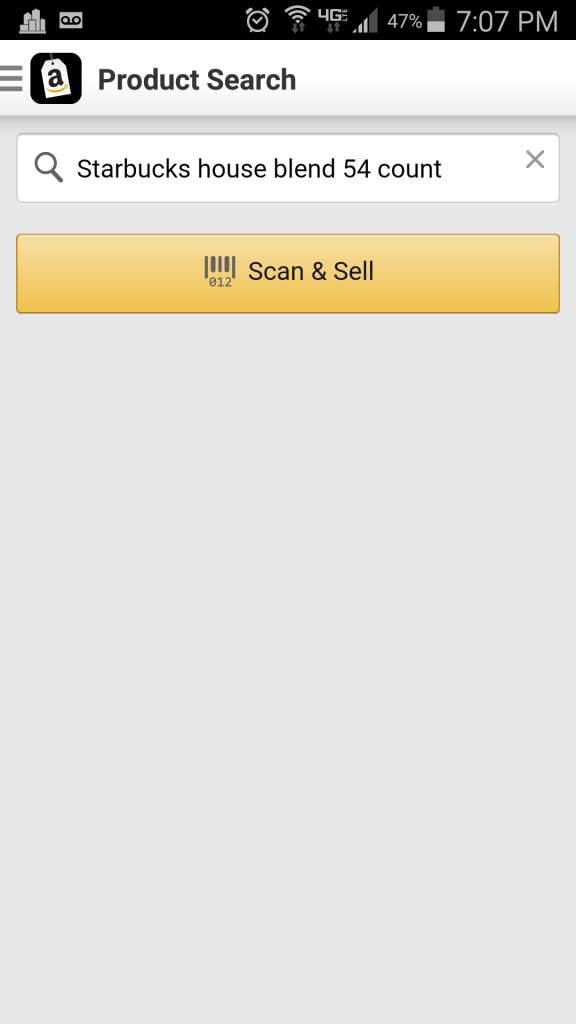
So, what do you do? Using the same example from above, you perhaps will type in the description of the product, like so:
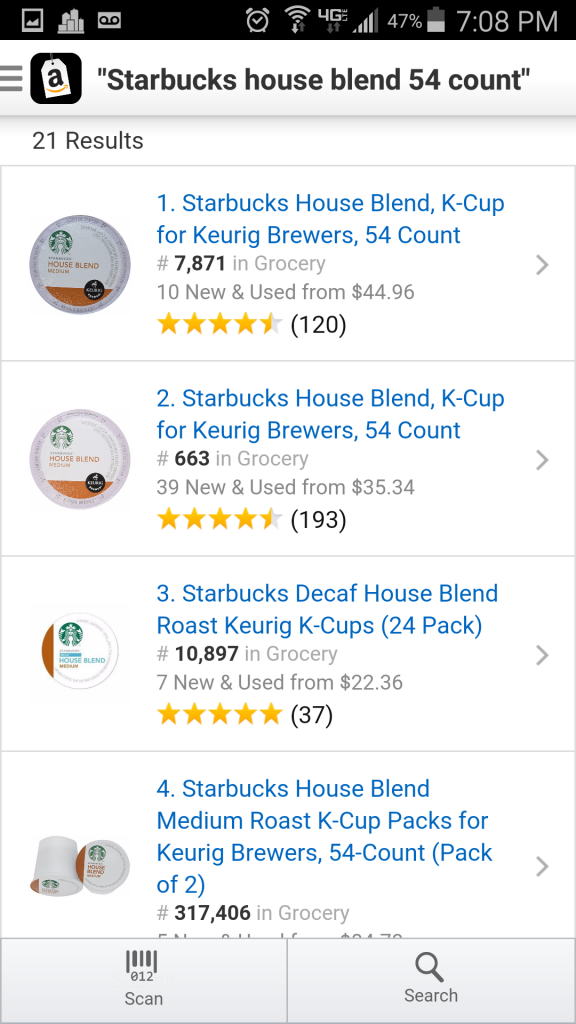
Be sure to select “search” on your keyboard, because if you hit the big yellow button, it’ll just switch to the camera (and expect you to scan a barcode). Don’t worry, I do it a few times a day, at least. But alas, I digress. So here’s what you get:
Now you’re at your best guess. Of course, if I were the one making a guess, I’d skip the first on the list, the ranking is too high, I’d move right to option number 2, and a ranking of 663, it’s totally a winner. Just remember my post on
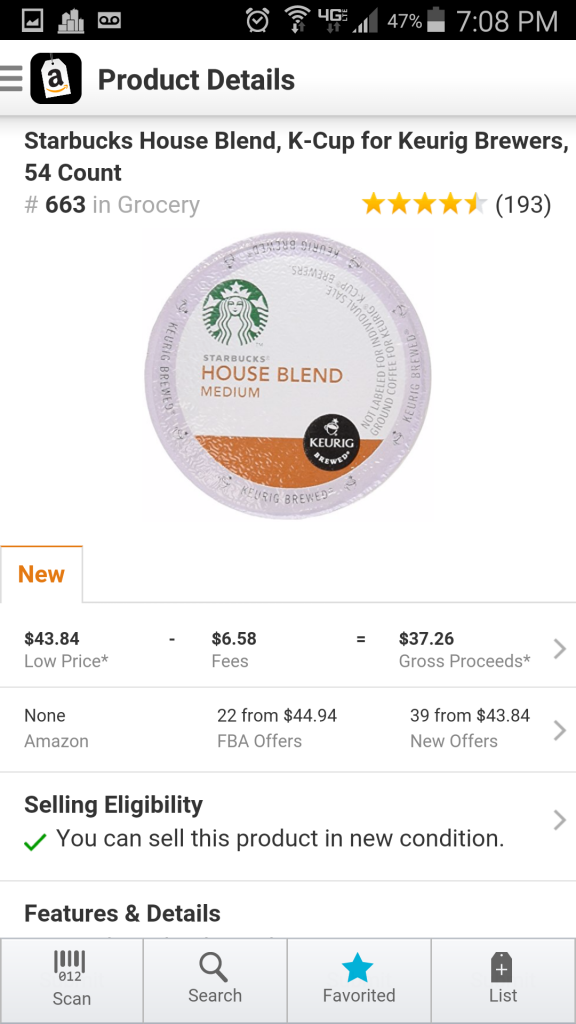
analyzing products. Anyway, so here’s your selection, this is where things get awesome.
So here you have all the data you want. You have what the low price is, the estimated amazon fees, and how much you’ll make on the deal. You can of course price differently, but lets focus on this graphic. What other really important data point are you getting? I’ll give you a clue, it’s just over the “Amazon.”
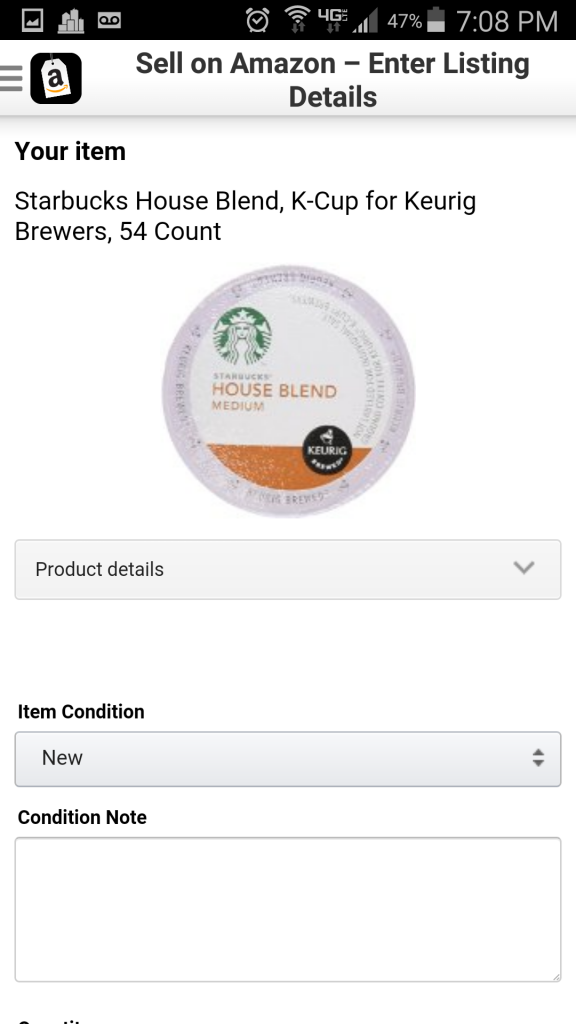
Yep, you got it, is Amazon selling this product? Nope! In fact, the statement is “None.” For me, this is a green light! Ok, moving on. So now you’ve found that the product is not sold by Amazon, perhaps the price is such that you can make some money, you want to list it, so you don’t forget about it when you get home. So anyway, here’s how you list it. There was that little button above aptly entitled: “List”, so you click that, and the below screenshot is what you get.
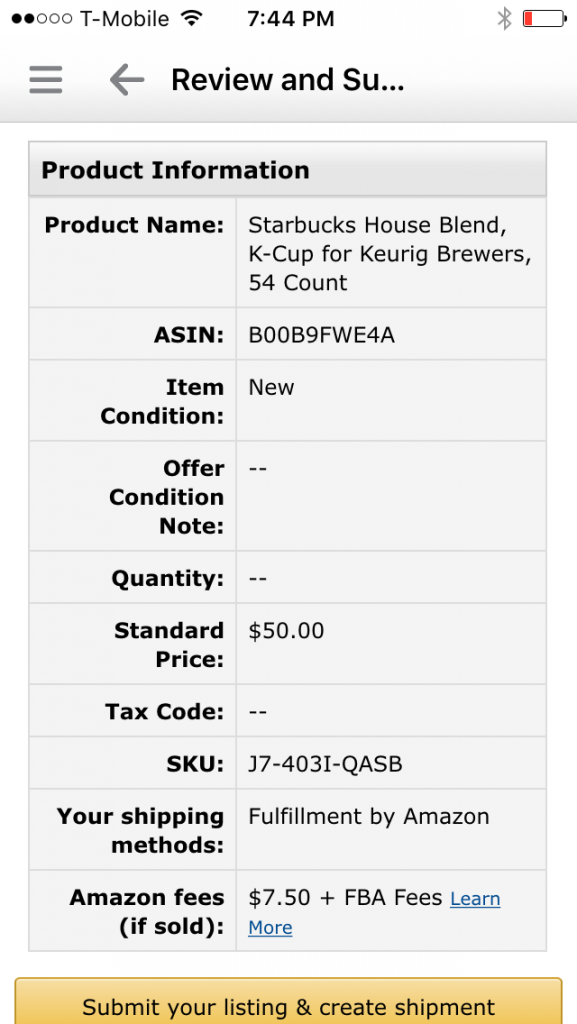
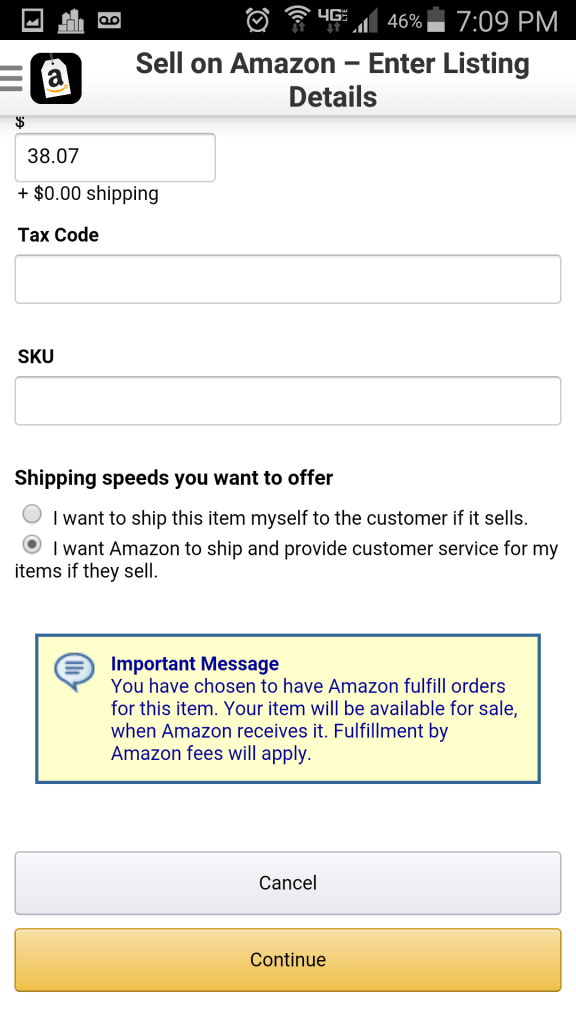
This doesn’t show everything, but it is important to note, you generally want to sell things as “new.” lets scroll down on the app a bit more, here’s where you enter the price:
Of course, you also select that you want Amazon to ship and provide customer service, aka, you want to Fulfill by Amazon. Always a very wise move, in my humble opinion.
Then you’ll get a confirmation, asking, “Are you really sure you want to sell this?” my answer, is always a resounding “Yes!!” But, I just click the yellow button:
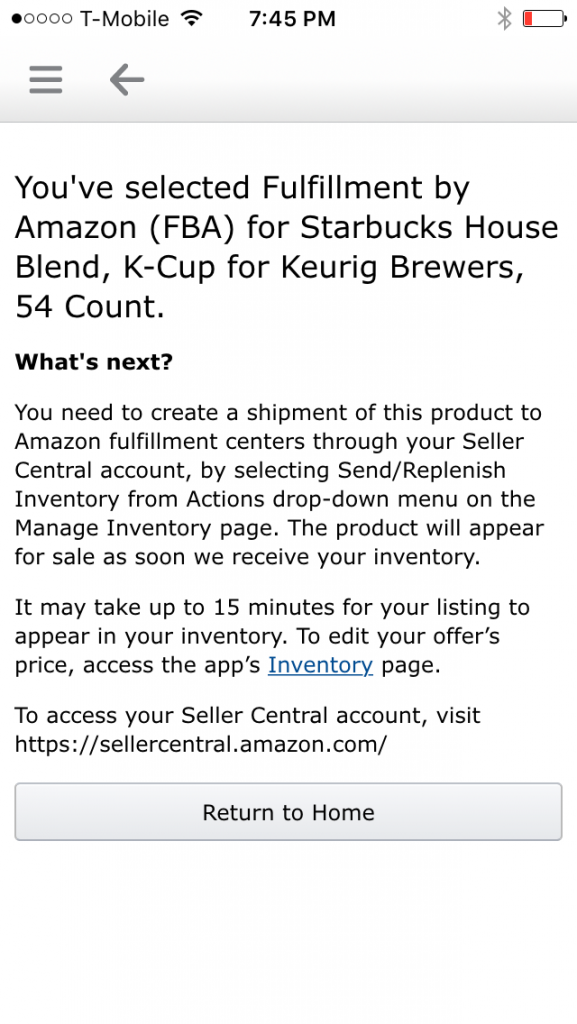
Finally, you get the confirmation, which may give you a warm and fuzzy, or, you’ll just keep tapping “Return to Home!”
Of course, after you’ve made it through this, you may ask:
Are there other valuable aspects of the Amazon Seller App?
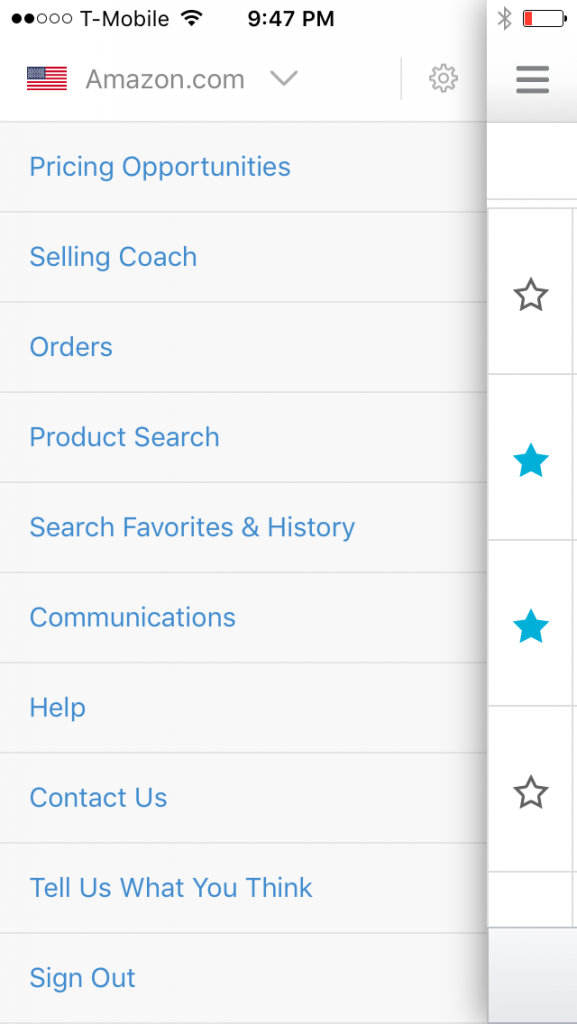
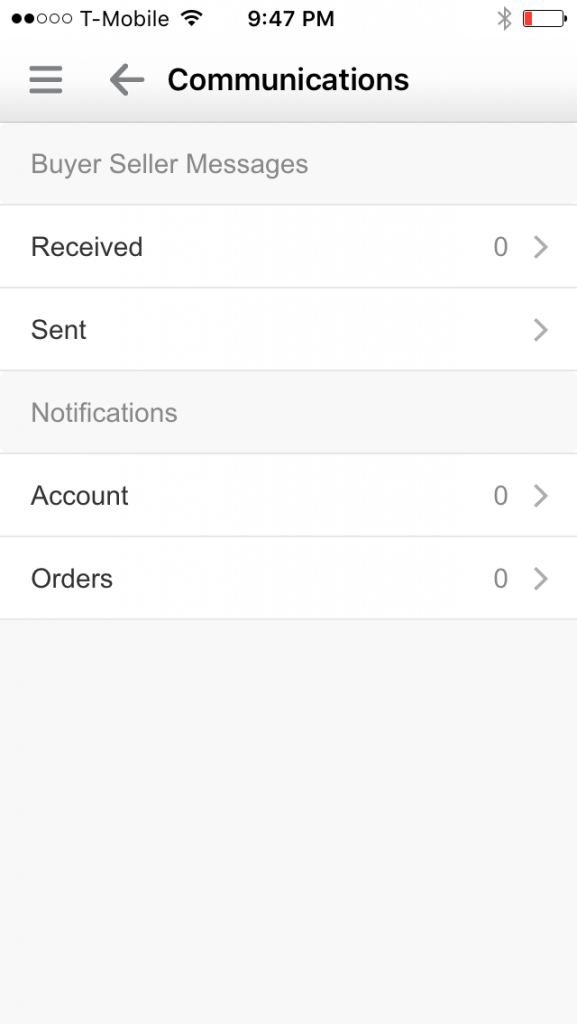
Well, look at all these options:
You can respond to customer communications (which should be few and far between if you do FBA, unless you’re an over-achiever).
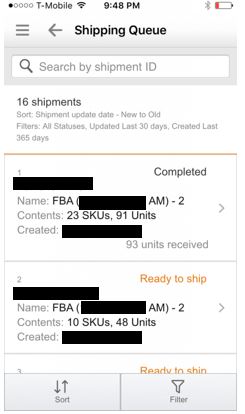
You can also look at your shipping queue, because, if you’re like me, you always want to know when your shipment will be received, because, time is money, after all!
Wrapping Up
The Amazon Seller App is a hugely powerful tool, that just so happens to be free. Even if you start out doing Online Arbitrage, there is value in the app, because you can just tap in the product you are searching for, and get a simple to interpret page telling you the lowest selling price, whether Amazon is a seller, and what your anticipated Amazon Seller Fees will be. Most of the time, it will also tell you the rank. If you happen to consider retail arbitrage, then I’d argue it is even more powerful. Are there other paid options out there? Of course! There’s clearly a market for more robust applications, and if you need one, evaluate it and by all means enlist, but for me, I find this to be pretty darn effective.



You sparked the kids interest @ #FT4RL3. Thanks for posting this. Maybe she can figure it out. I don’t have time for any more hobbies!
@KathyL – Awesome!! Good luck to her, she’s welcome to reach out with any questions.
Great guide hopefully I can scale up to supplement my income while I’m unemployed at the moment.
Learned several new things and I appreciate the links to the other sections! Never took notice of the ‘amazon’ sells part, very helpful.
Great!
Search history is also handy.
Several people in my family have the app on their phones and scan things whenever they shop. I have a 17year old daughter so that is almost every day. If she thinks she’s found something I can open my app and look at ‘history’ and see the details.
Same goes when I’m in the fence about a deal. I can text her if she is home and she can put a second set of eyes on it for me. In either case the person at home can use camel3 or fbatoolkit for more info.
The key to this working is to use the same log in credentials for everyone.
@Haley – great point! Search history and being able to favorite are huge too! I find I’ll be scanning so many things in a given week, that sometimes I’ll scan the same thing I had bought a few weeks prior and it comes up as favorited. Quick analysis, and likely a buy.
Pingback: A Painful Gift Card Reselling Lesson, Citi's Version of Amex Offers, Hacking In-State College Tuition & More! - Frequent Miler
Is it possible to set the AZ App to only do the calculation for the lowest FBA price instead of just the lowest price? I’ve found people will pay more to buy from an FBA seller.
@Ken – Great question! So far as I can tell, it is not possible to default on the product info screen, however if you notice next to the pricing, there is an arrow to the right, tap that and you can tweak just based on FBA sellers, and you can even play around with the price.
I realize without photos, it is hard to explain, I’ll put something together this week on it.
Pingback: Beginner's Guide to Fulfillment by Amazon: Amazon Seller App Part 2 – Tagging Miles
Pingback: Retail Arbitrage Explained: How to Manufacture Spend & Profit While Doing Your Everyday Shopping - Miles to Memories
I’m a little confused as to why their are 2 entries for the exact same item in your graphic list of your Starbucks K-cup sample scan item. Why or how is the same item ranked differently? (Please excuse my complete novice stupidity here, but this is very fascinating.) thanks for the help!
Pingback: Are You An FBA Reseller? Then You Need To Read This - Chasing The Points
Pingback: Maximize your Chase Freedom 5x at Costco - Tagging Miles
Pingback: Maximize your Chase Freedom 5x at Costco - Tagging Miles
Pingback: 2016: Looking back at quite the year of Reselling on Amazon - Tagging Miles
Pingback: Amazon Seller App Enhancements - 2017 Edition - Tagging Miles
Pingback: A Painful Gift Card Reselling Lesson, Citi's Version of Amex Offers, Hacking In-State College Tuition & More!